
How to Claim Website on Pinterest (WordPress) — 3 Methods (2026)
Claiming your website on Pinterest is one of the most important setup steps if you want Pinterest traffic to turn into real outbound clicks and long-term growth.
Pinterest says claiming your website helps you:
- see insights into how often your content is shared
- link your profile to Pins saved from your website (attribution)
Pinterest also notes: to claim a website, you must own the domain/subdomain/subpath and be able to edit the site’s code.
This guide shows you exactly how to claim your site on WordPress, including quick fixes when Pinterest says your tag can’t be found.
Quick answer: How do you claim a WordPress website on Pinterest?
Pinterest supports three claim methods:
- HTML tag (meta tag)
- HTML file upload
- DNS TXT record
For most WordPress users, the HTML tag (meta tag) method is the easiest.
Step 0: Make sure you’re using a Pinterest Business account
Pinterest says a business account gives access to features like Pinterest Analytics and the Business Hub.
If you’re still on a personal account, switch/upgrade first, then continue.
Step 1: Get your Pinterest verification code (meta tag / file / DNS)
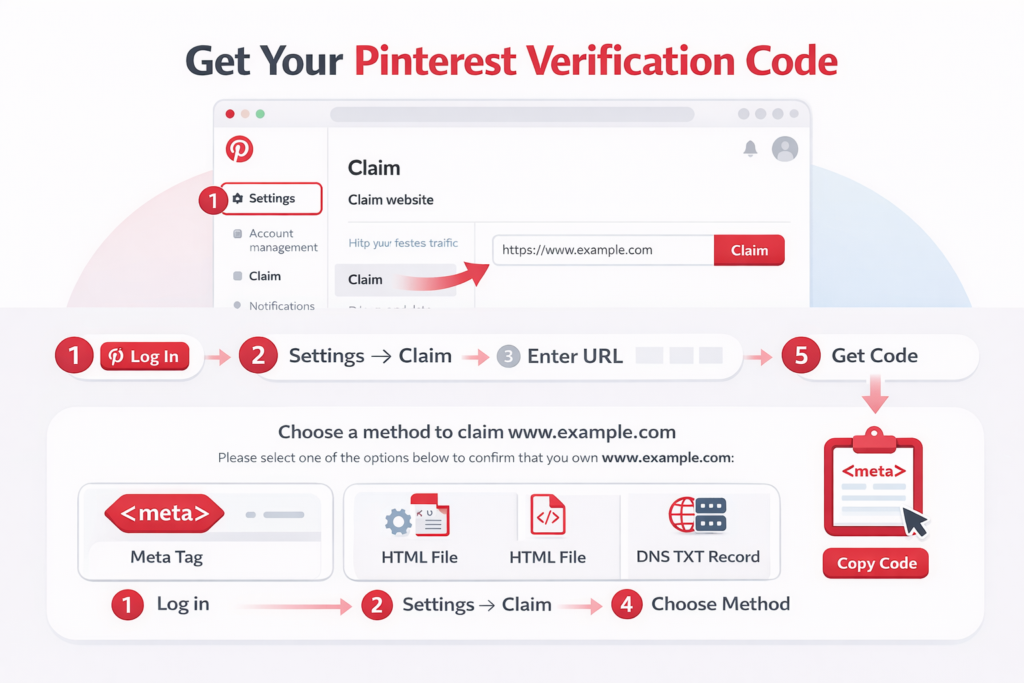
- Log in to Pinterest
- Go to Settings → Claim (the wording can vary slightly by interface)
- Add your website and choose one of the claim methods
- Pinterest will generate:
- a meta tag (HTML tag method), or
- an HTML file, or
- a DNS TXT value
Tip: Adding your website to your profile is separate from “claiming.” Pinterest explains you can add your website to your profile, but to see analytics and more features you’ll need to claim it.
Method 1 (Recommended): Claim Pinterest website on WordPress using the HTML tag
Where the meta tag goes
It must be placed inside your site’s <head> section.
Option A: WordPress (self-hosted / WordPress.org)
You have three common ways:
1) Use an SEO plugin
Most SEO plugins let you add “site verification” codes.
2) Use a header/footer insert plugin
Paste the Pinterest meta tag into the header section.
3) Add it to your theme’s header.php
(Only do this if you’re comfortable editing theme files — and use a child theme.)
After you add the tag:
- clear cache (WordPress cache + CDN cache, if any)
- go back to Pinterest and click Verify/Submit
Pinterest will check and confirm the claim if it detects the tag.
Option B: WordPress.com sites
WordPress.com has its own flow for Pinterest verification. Their support doc specifically covers how to claim/verify your site with Pinterest on WordPress.com.
Method 2: Claim using HTML file upload
Pinterest also supports uploading an HTML file to your website.
This method is usually easiest if:
- you have cPanel / file manager access, or
- your host provides simple file uploads to the site root directory.
Method 3: Claim using DNS TXT record
Pinterest supports DNS verification as a claim method.
Use this if:
- your WordPress setup doesn’t allow easy header edits, or
- your theme/plugins keep removing the meta tag.
How it works: You add a TXT record in your domain DNS settings, then Pinterest verifies it.
After claiming: Add your website to your Pinterest profile (so people can find you)
Pinterest explains how to add your website to your profile, and notes that to see analytics and additional features you still need to claim the website.
Common problems (and exact fixes)
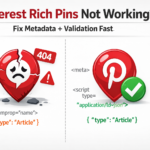
1) “No relevant meta tag was found” (Pinterest can’t detect your tag)
This usually happens when:
- the tag was placed in the wrong location (not in <head>)
- caching/CDN is serving an older version of your site
- your theme/page builder strips header code
Fix checklist:
- confirm the tag appears in your page source inside <head>
- clear cache/CDN and try again
- try the DNS method if you can’t keep the tag in the head
(You’ll see many creators reporting the same error in Pinterest’s community, so it’s common.)
2) Claim is “stuck” or says something went wrong
Pinterest states that a website can only be claimed by one Pinterest account.
So if the domain is already claimed by:
- an old account you own, or
- a previous owner/client,
you’ll need to unclaim it from that account first.
3) My website is added but not showing on my profile
Adding your website to your profile is separate from claiming. Pinterest provides steps for adding your website, and explains claiming is what unlocks analytics and additional features.
4) I claimed my site—what do I do next?
Do these next (in this order):
- Enable Rich Pins (Article Rich Pins are ideal for blogs)
Pinterest explains Article Rich Pins pull the title/headline, description, and author from your site and can update automatically.- Create 3–5 Pins for your best post
- Track Outbound clicks in Pinterest Analytics (your true traffic metric)
FAQ
What does claiming a website do on Pinterest?
Pinterest says claiming gives insights into how often your content is shared and links your profile to Pins saved from your website.
What are the ways to claim a website on Pinterest?
Pinterest lists three options: HTML tag, HTML file upload, or DNS TXT record.
Do I need a business account to claim a website?
Pinterest’s business account features include Analytics and Business Hub; claiming is part of a business-focused setup.


")


